 Watch
Watch Guide
Guide Craft Courses
 Blog
Blog


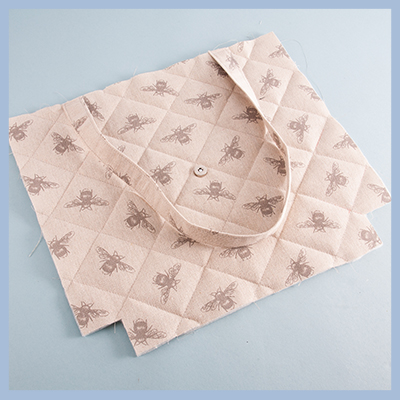
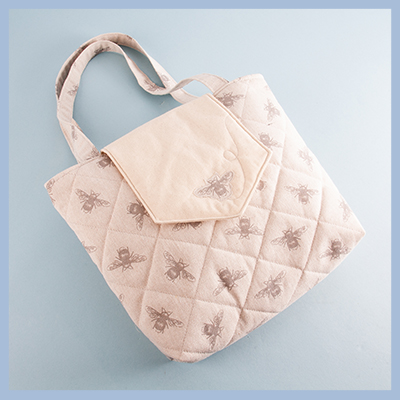
A lovely summer accessory
Upgrade your sewing skills with the help of Debbie Shore. This course has been designed as an online video format, giving you the opportunity to watch a demonstration of the project while crafting along throughout. Alternatively, you can read the step-by-step instructions.
This course focuses on how to make a quilted tote bag with calico lining, a zipped inside pocket, and magnetic snap to fasten. You’ll be able to learn the simple techniques in no time!
Follow along to learn how to sew seams and turn simple shapes into a tote bag. You’ll soon master how to make easy work of sewing flap pieces, sewing handles, and trimming seams to make a neat edge. Finally, enjoy tips on how to create a zipped pocket and attach a magnetic snap.
Join the session for free without a craft kit if you wish to use your own materials, or you can access the full craft kit to support the tutorial for £19.99 (excluding delivery).
The perfect course to grow your sewing confidence!
Sewing Level
Designed for beginners with basic knowledge of how to use a sewing machine
Finished bag size 13” x 11” x 3” (33cm x 28cm x 7cm)
Use ½” (1.25cm) Seam Allowance
What you'll get in your craft kit
28” x 20” (71cm x 51cm) Canvas Fabric with Bee design
28” x 20” (71cm x 51cm) Calico Lining
35” x 12“ (89cm x 30cm) Fusible Fleece
1 x Magnetic Snap
1 x 9” (23cm) Zip
Full colour printed instructions
What you'll need
Scissors
Thread
Sewing Machine
Optional Equipment
Rotary Cutter
Ruler
Mat
Erasable Marking Pen
Fabric Glue Stick
Small piece of Bondaweb for the Applique


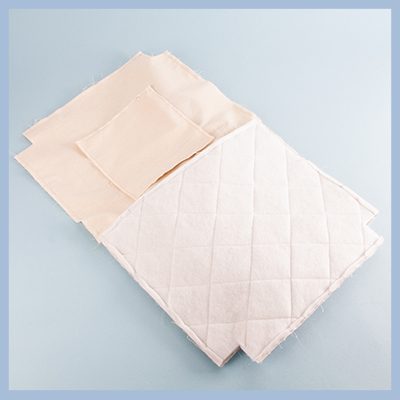
Cut the selvedges off your fabrics.
Cut two pieces of outer and two pieces of lining fabric each measuring 14" x 12".
Fuse fleece to the wrong sides of each outer piece.
Cut two pocket pieces from the lining each measuring 7" x 7"
Cut two handle pieces of outer fabric each measuring 4" x 23"
Cut two flap pieces from the lining each measuring 7" x 8".
Fuse fleece to the wrong side of the outer flap piece.


Step 1
Take the two large outer and two lining pieces and cut a 1.5" square from the bottom two corners of each piece.
Step 2
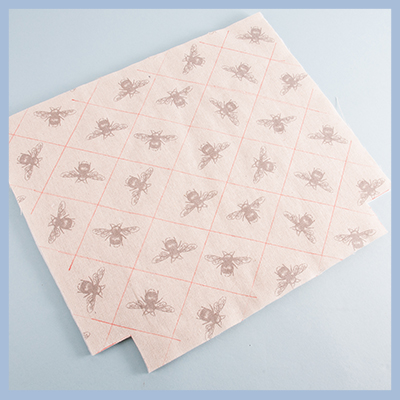
Draw diagonal lines in two directions across the outer fabric, in between the bee print. (If you are using your own fabric, these lines are 2.25" apart.)
Step 3
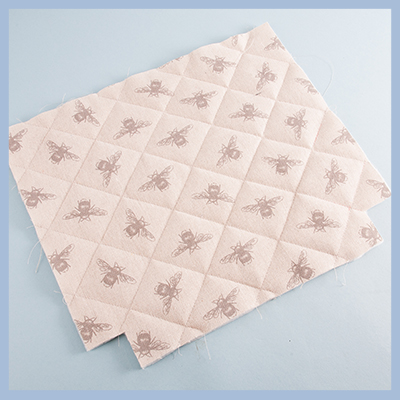
Sew along these lines to quilt.
Step 4
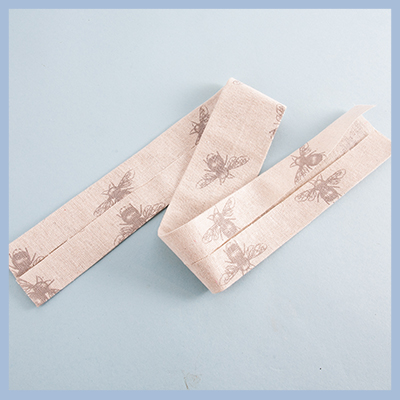
To make up each handle, fold the long edges of the fabric to the centre and press.
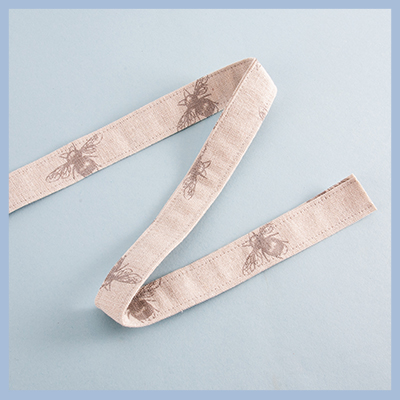
Step 5
Fold in half again and top stitch along each side.

Step 6
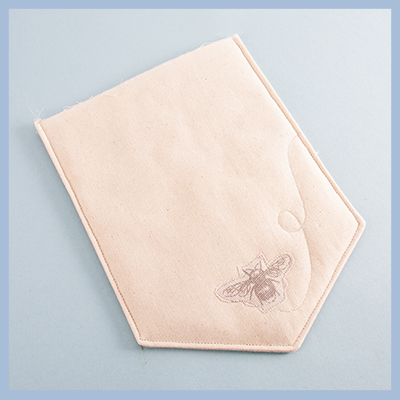
Take the flap pieces and fold in half lengthways to crease the centre. Measure 2" from the bottom of each side and cut from the crease to these measurements to create a point.

Step 7
Cut around one bee shape for the applique. If you have Bobdaweb fuse this to the wrong side first.
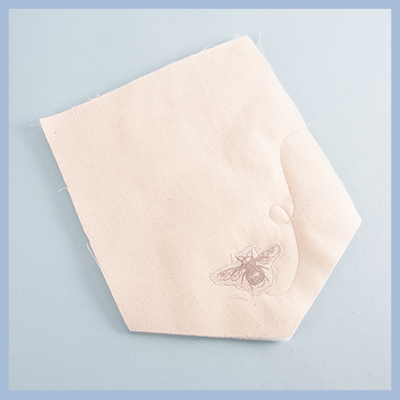
Step 8
Fuse the bee applique to the centre of the of the outer flap, 2" from the point. Use a glue stick if you don't have Bondaweb. Sew around the edge, then add a free hand swirly line from the bee to the side of the flap to make it look like it's flying!
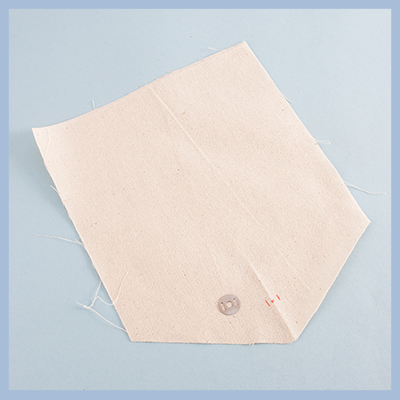
Step 9
Fix the slim half of the magnetic snap to the remaining flap piece. Measure 1" from the point, draw through the holes in the back of the snap.
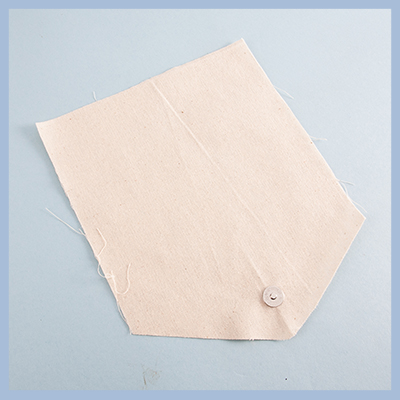
Step 10
Make small snips into the straight lines, push the prongs of the snap through the holes, add the snap back and squash the prongs open.
Step 11
Sew the two flap pieces right sides together, leaving the top open. Snip across the corners, turn the right side out and press. Top stitch along the seam.
Step 12
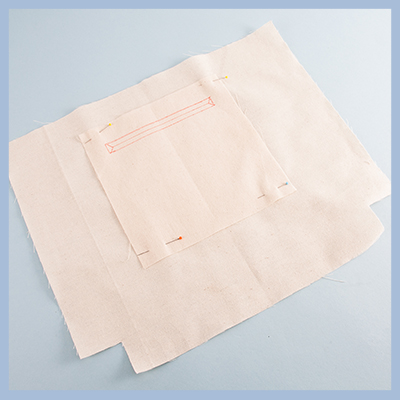
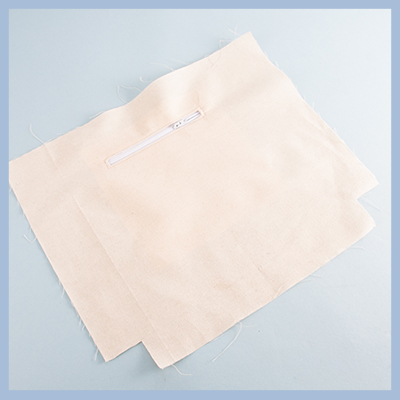
To make the zipped pocket, pin one pocket piece over a lining piece, centrally, 1.5" from the top. Draw a box measuring 6" x 1/2", 1" from the top of the pocket. Draw a line through the centre going into 'Y' shapes at each end.
Step 13
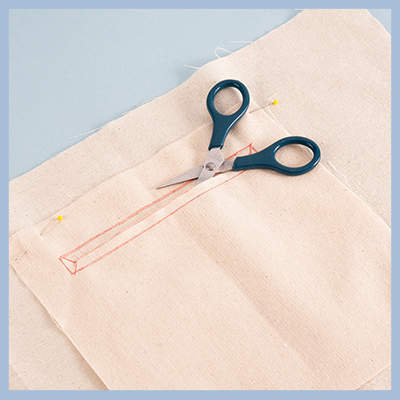
Sew around the edge of the box, then snip through the centre line and into the corners.
Step 14
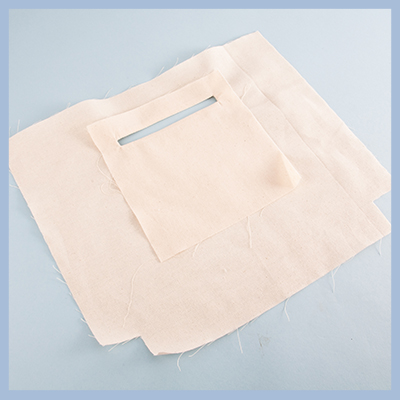
Push the lining through the hole and press.
Step 15
Place the zip facing down over the hole, secure with your glue stick. Sew around the zip.
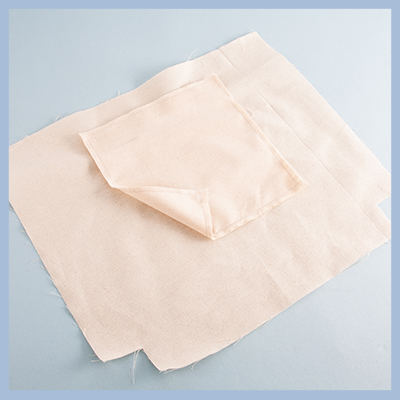
Step 16
Snip off the ends of the zip. Pin the second pocket piece to the first and sew all around, don't sew through the main lining piece.
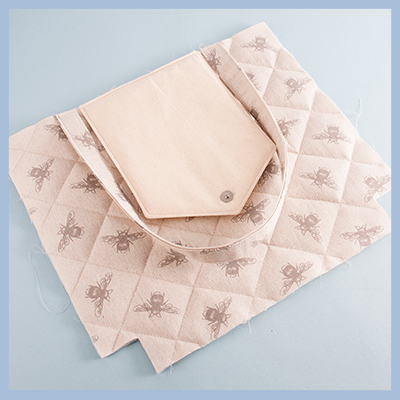
Step 17
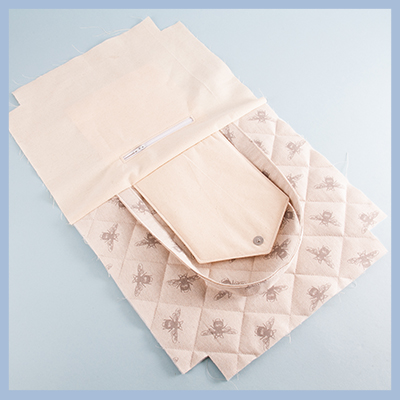
Sew the flap, facing down to the centre back of the outer panel. Sew the ends of one handle to each side, making sure it isn't twisted!
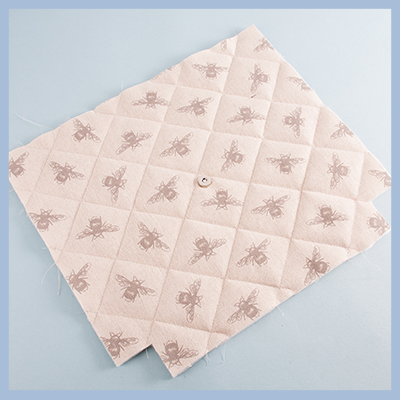
Step 18
Fit the larger half of the magnnetic snap to the centre front of the bag, 6" from the top.
Step 19
Match the position of the back handle to the front of the bag and sew in place.
Step 20
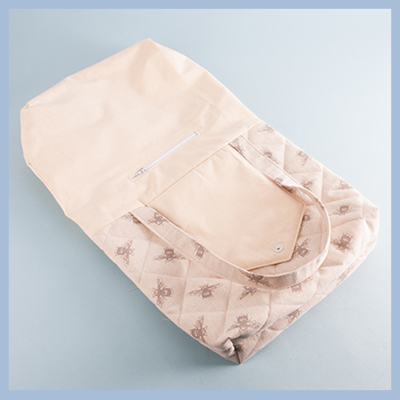
Sew the top of the outer bag pieces to the top of the lining.
Step 21
Matching the seams, sew all around, leaving a turning gap in one side of the lining of about 4", and don't sew the cut-out corners.

Step 22
Pull open the cut out corners so that the side seams sit over the base and sew to make the bag base square.
Step 23
Turn the right side out and sew the turning gap closed.
Step 24
Push the lining inside the bag and press. Top stitch all around the top.